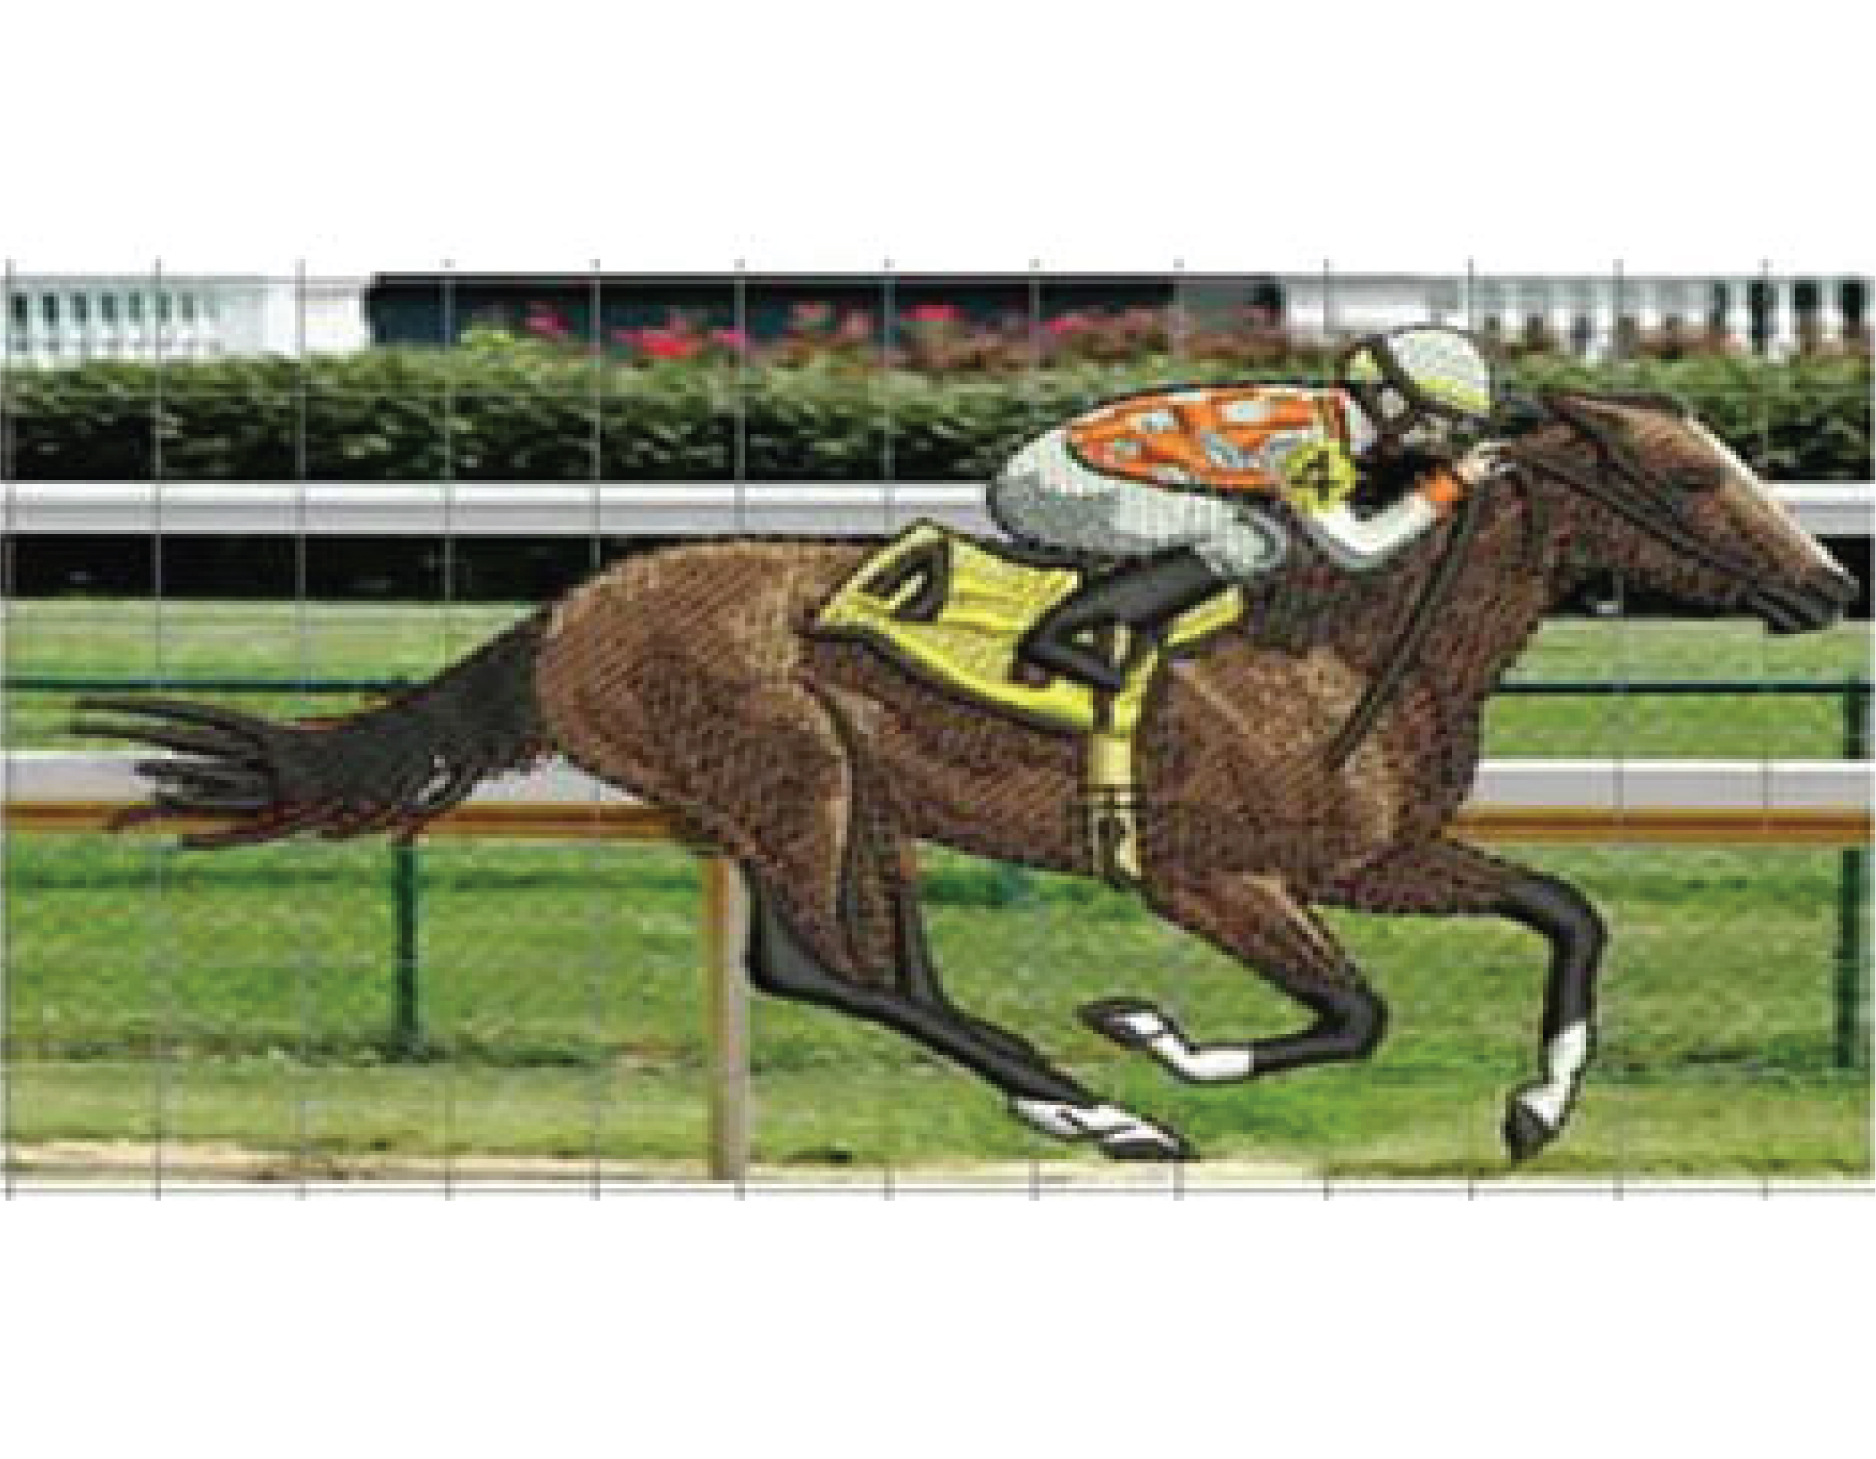
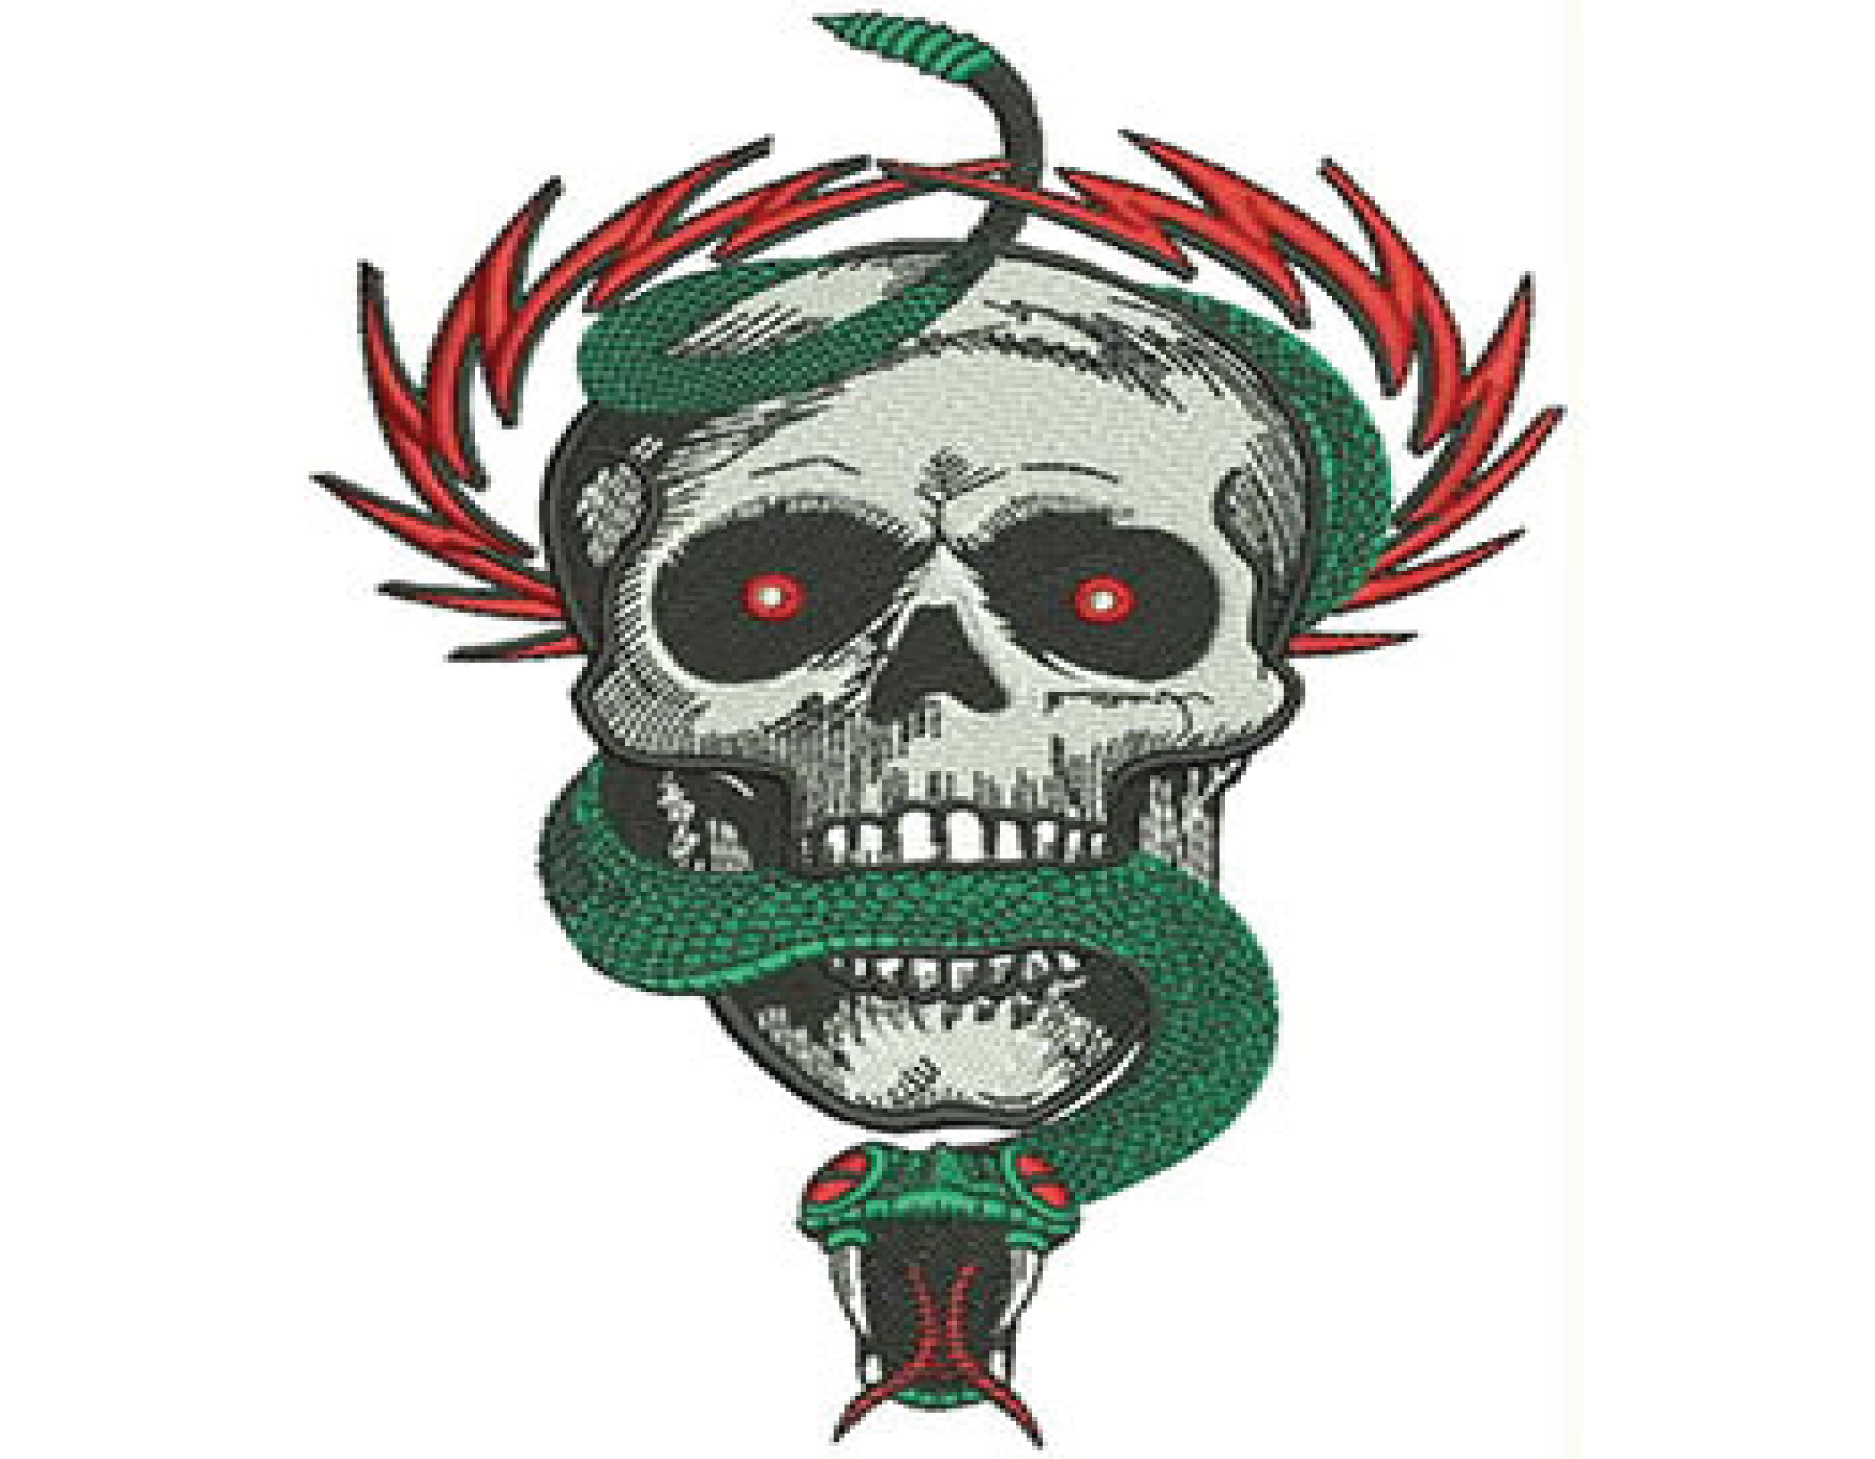
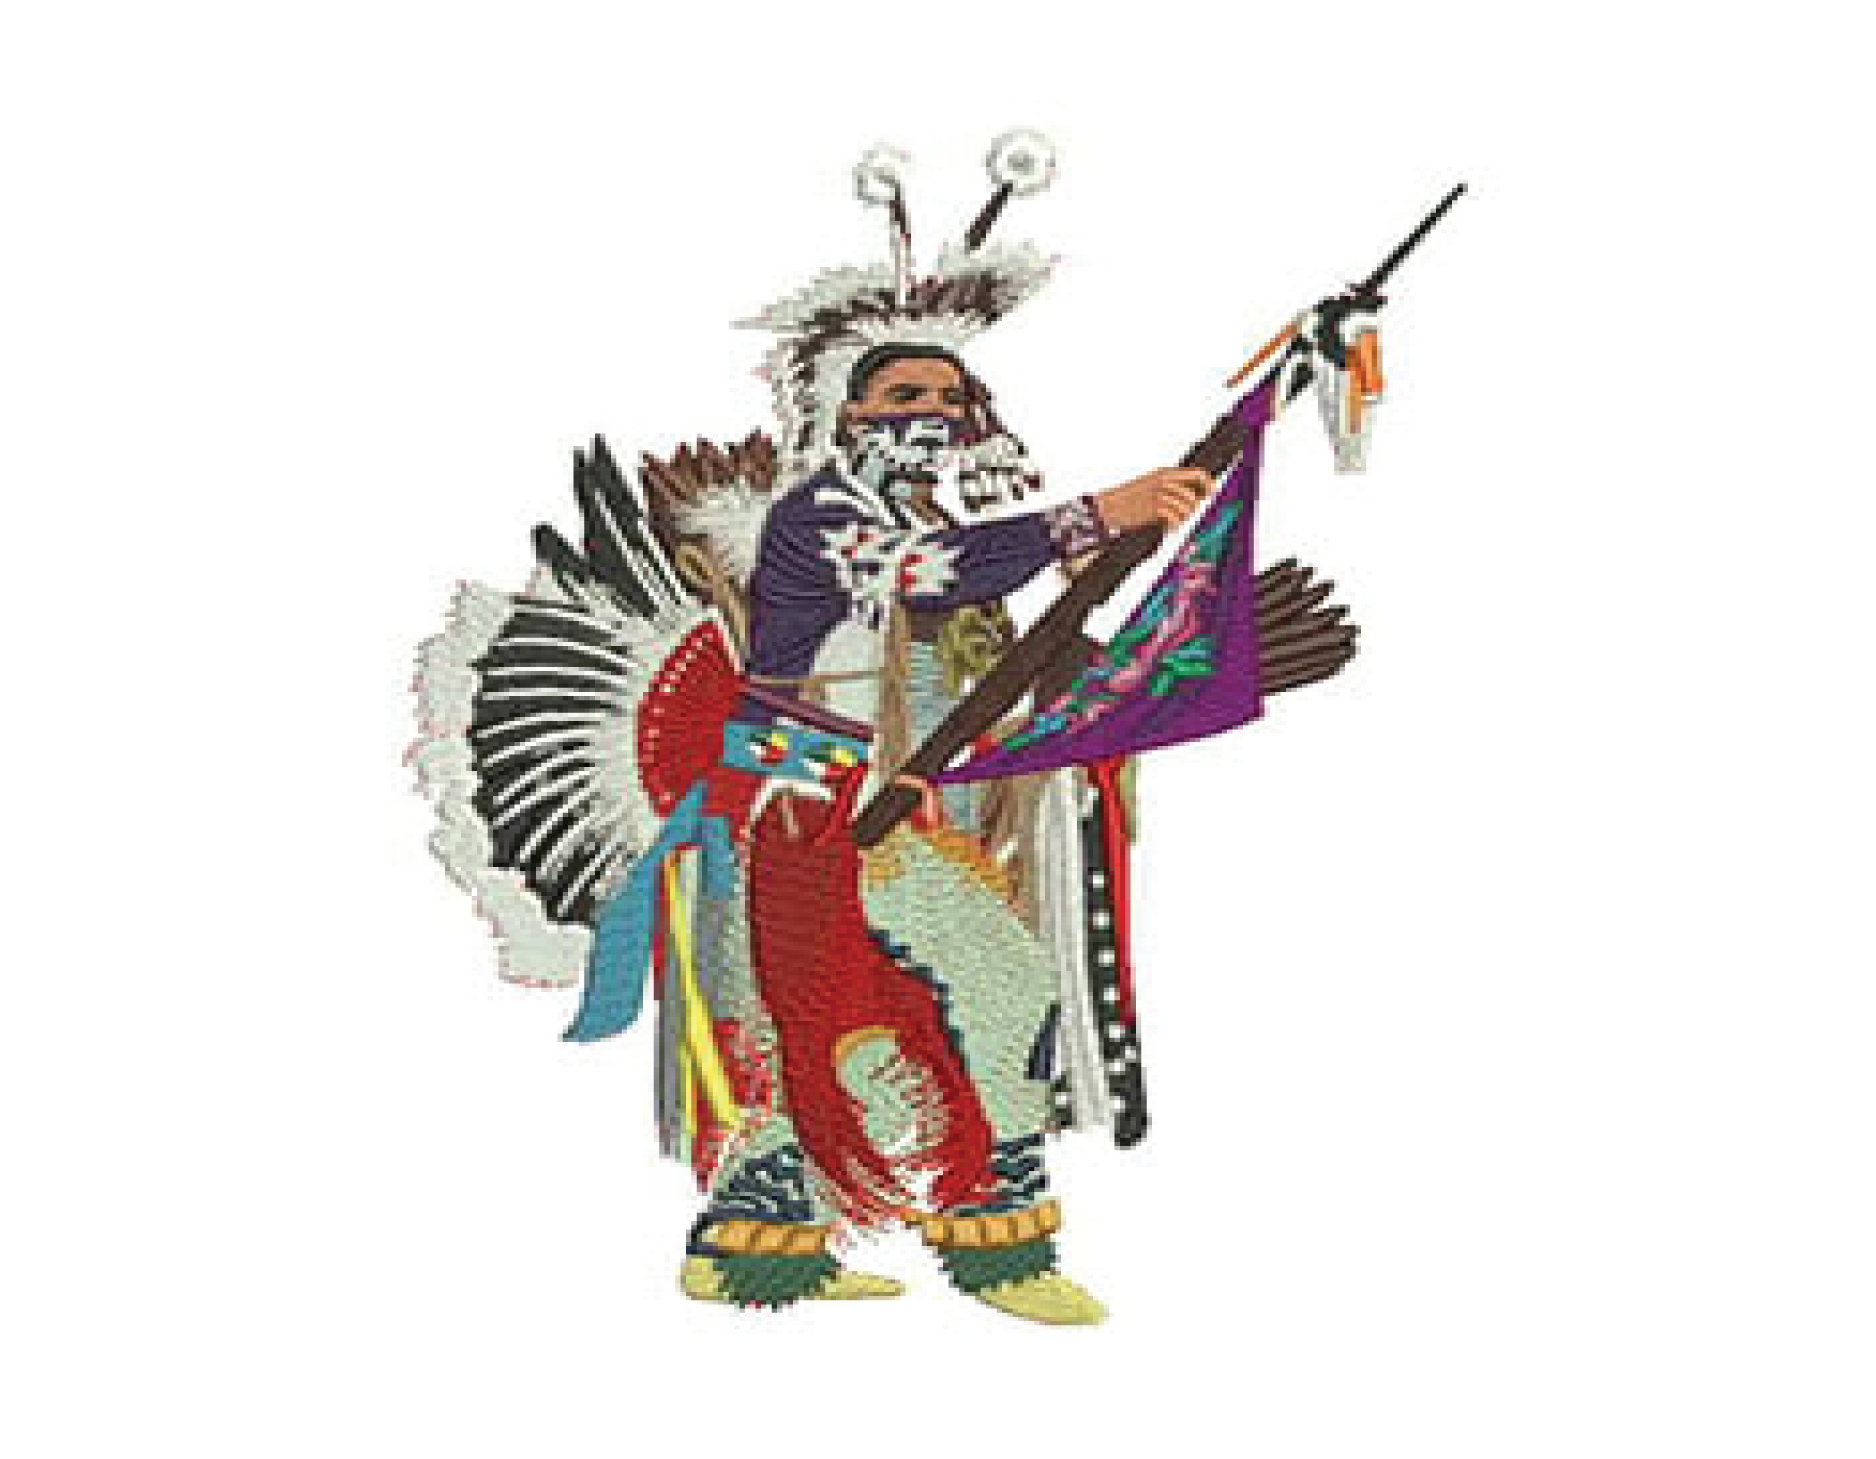
Digitizing jacket back embroidery involves the intricate process of converting a design or logo into a digital embroidery file that an embroidery machine can execute. Below are the structured steps for achieving successful jacket back embroidery: Design Creation or Acquisition: Begin by creating a unique design or obtaining a logo, text, or graphic intended for the back of the jacket. Import into Digitizing Software: Utilize specialized digitizing software like Wilcom, Embird, or Pulse to import the chosen design. Setup Embroidery Parameters: Configure essential parameters such as stitch type, density, and direction within the digitizing software. Consider the material of the jacket and choose an appropriate stabilizer to ensure quality embroidery. Digitize the Design: Using the digitizing software, manually or automatically create the stitch pattern that faithfully replicates the original design. Adjust stitch types, densities, angles, and thread colors as needed. Design Testing: Prior to full-scale production, test the digitized design on a sample piece of fabric to verify clarity and ensure the design stitches cleanly and accurately. Save the Embroidery File: Save the finalized embroidery file in a compatible format such as .DST, .PES, or .JEF, readable by the embroidery machine. Load and Execute: Transfer the embroidery file to the embroidery machine. Follow the instructions embedded in the file to precisely stitch the design onto the back of the jacket. Achieving high-quality jacket back embroidery demands a blend of technical expertise and artistic vision. A comprehensive understanding of the embroidery process, coupled with meticulous attention to design and color, ensures the final product meets both aesthetic and functional requirements.