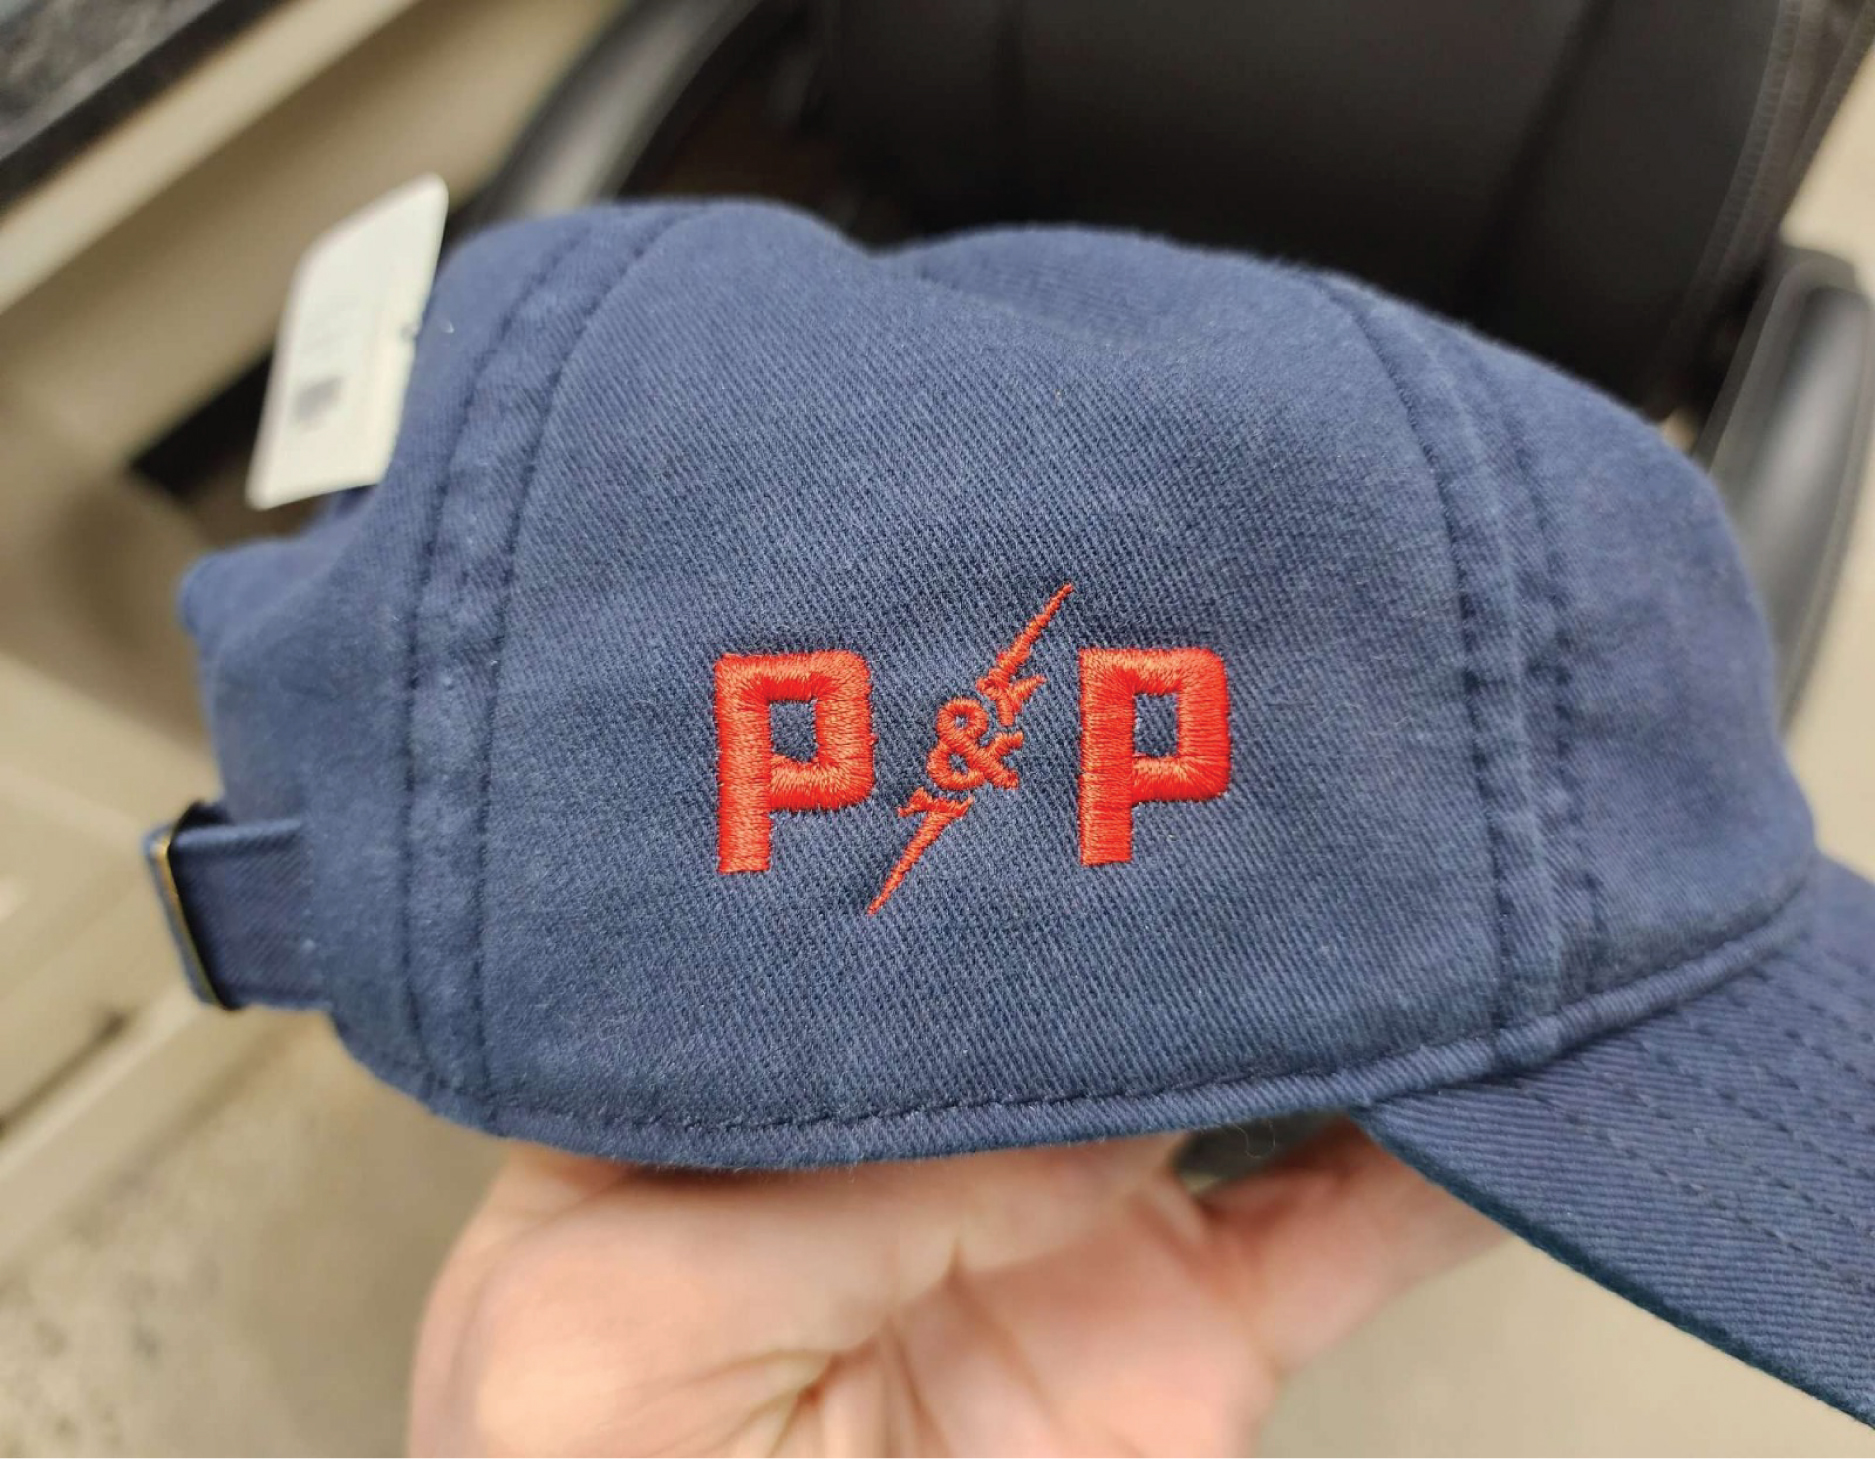
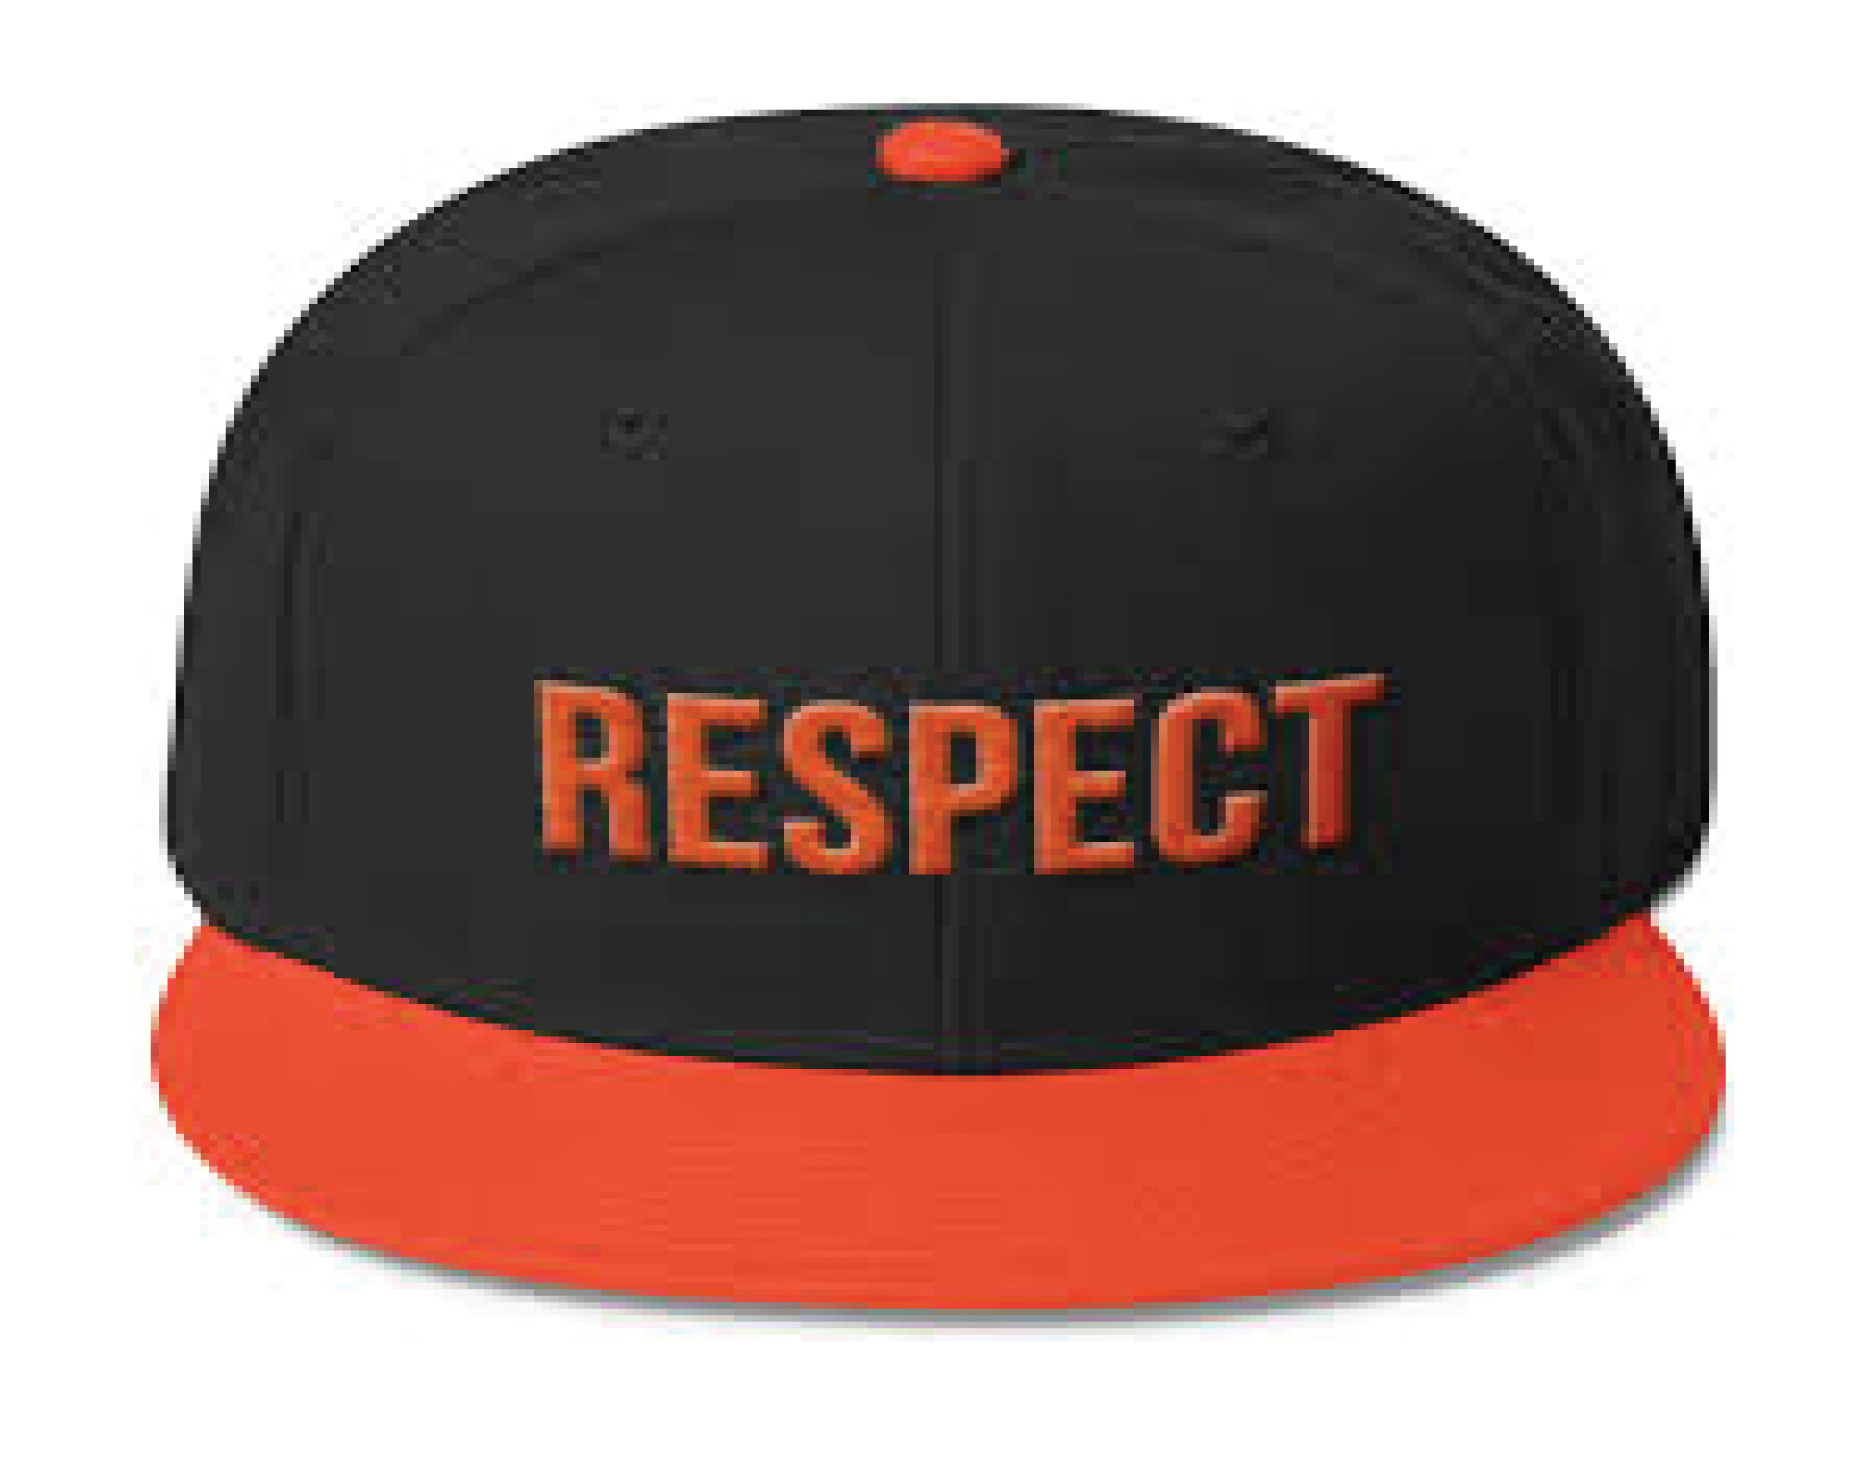
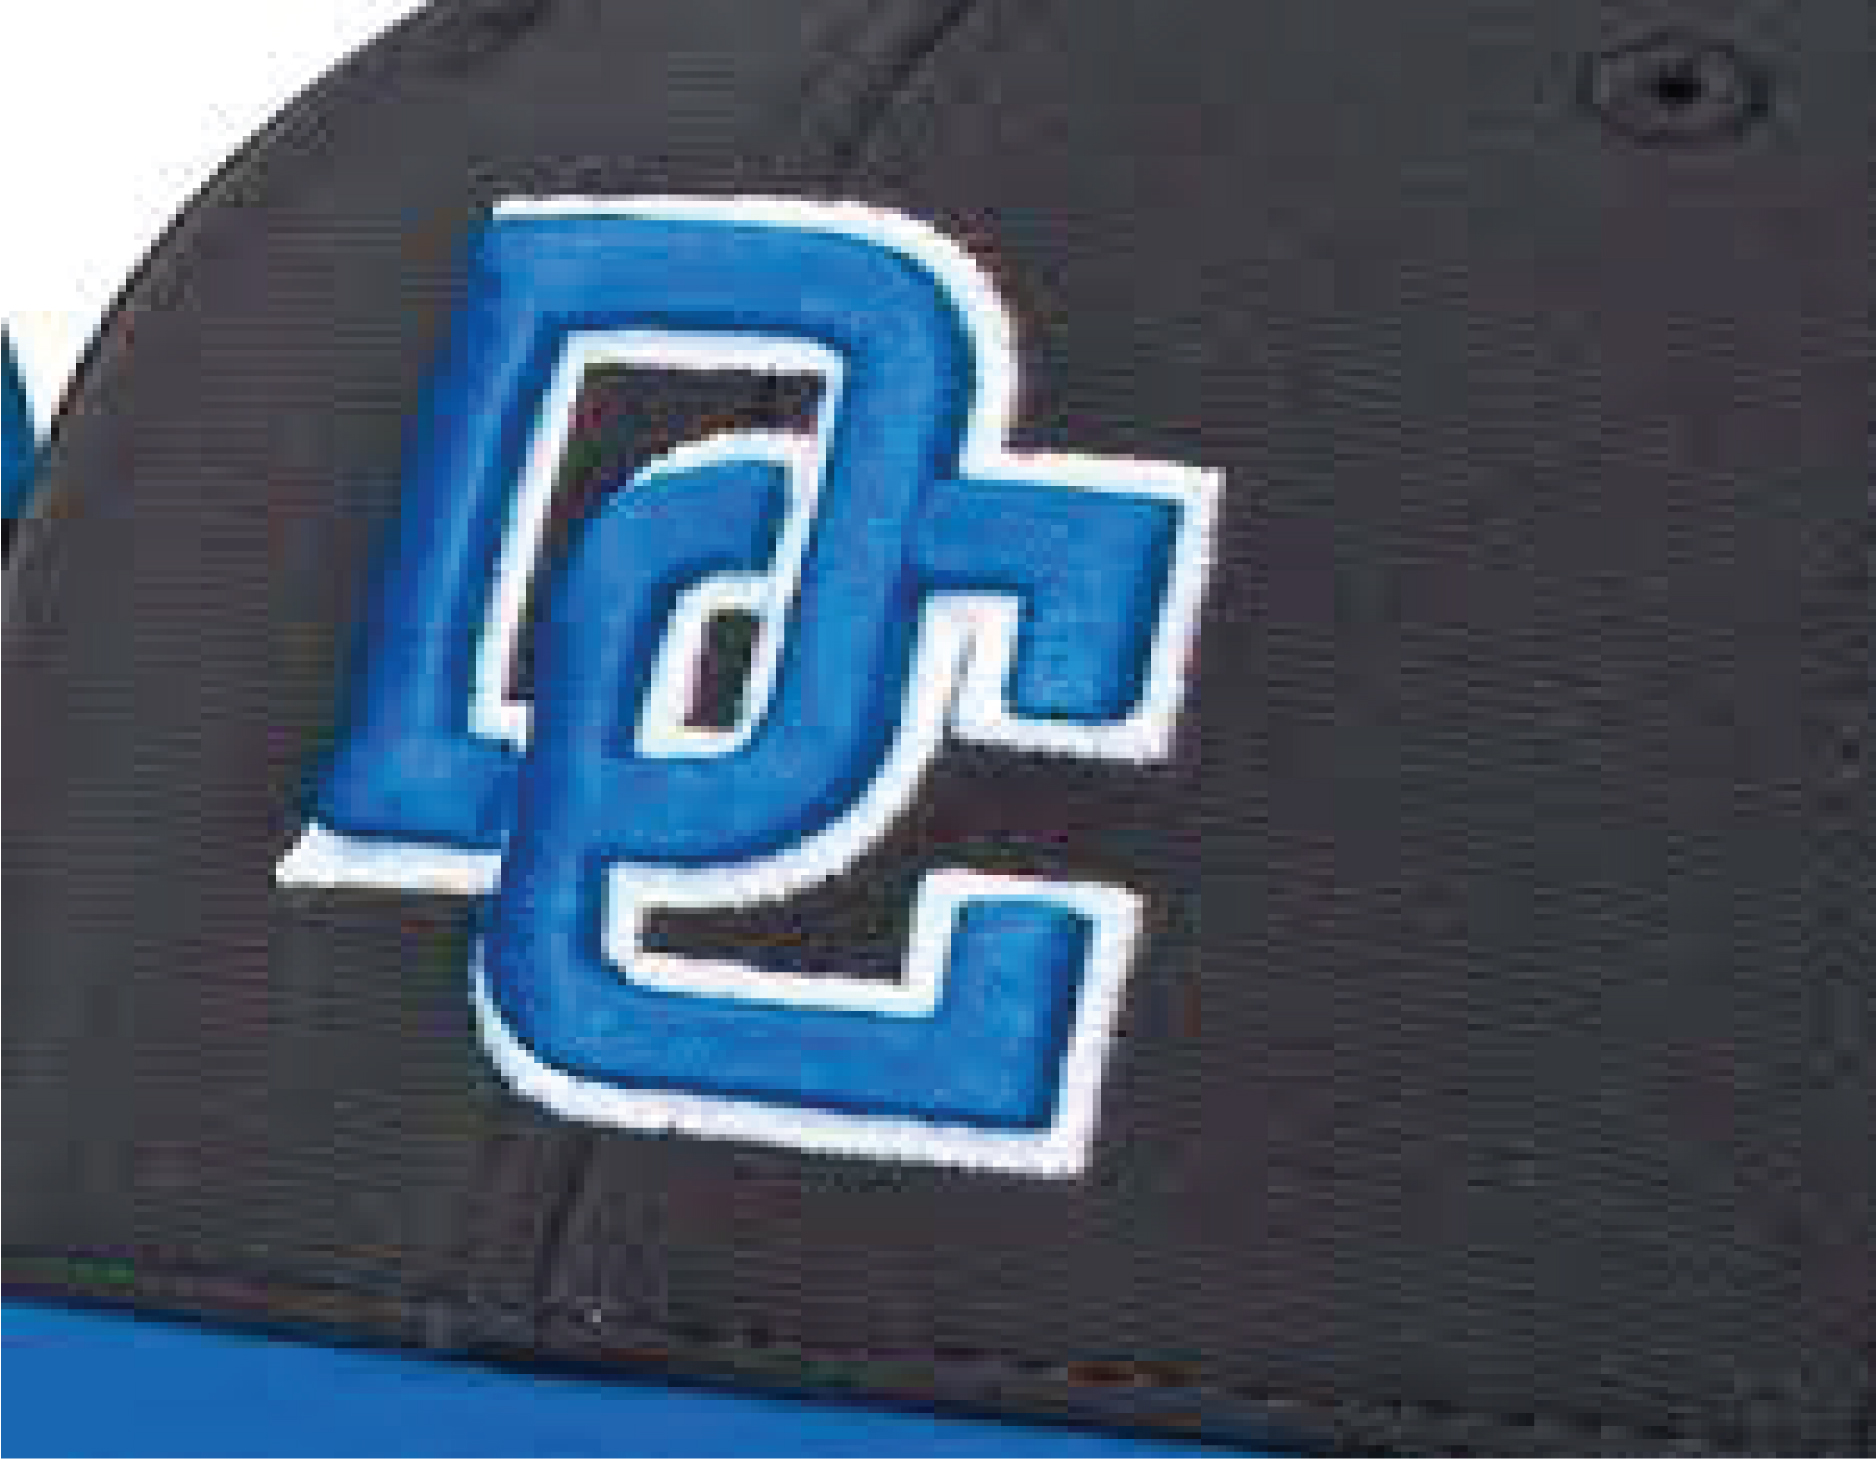
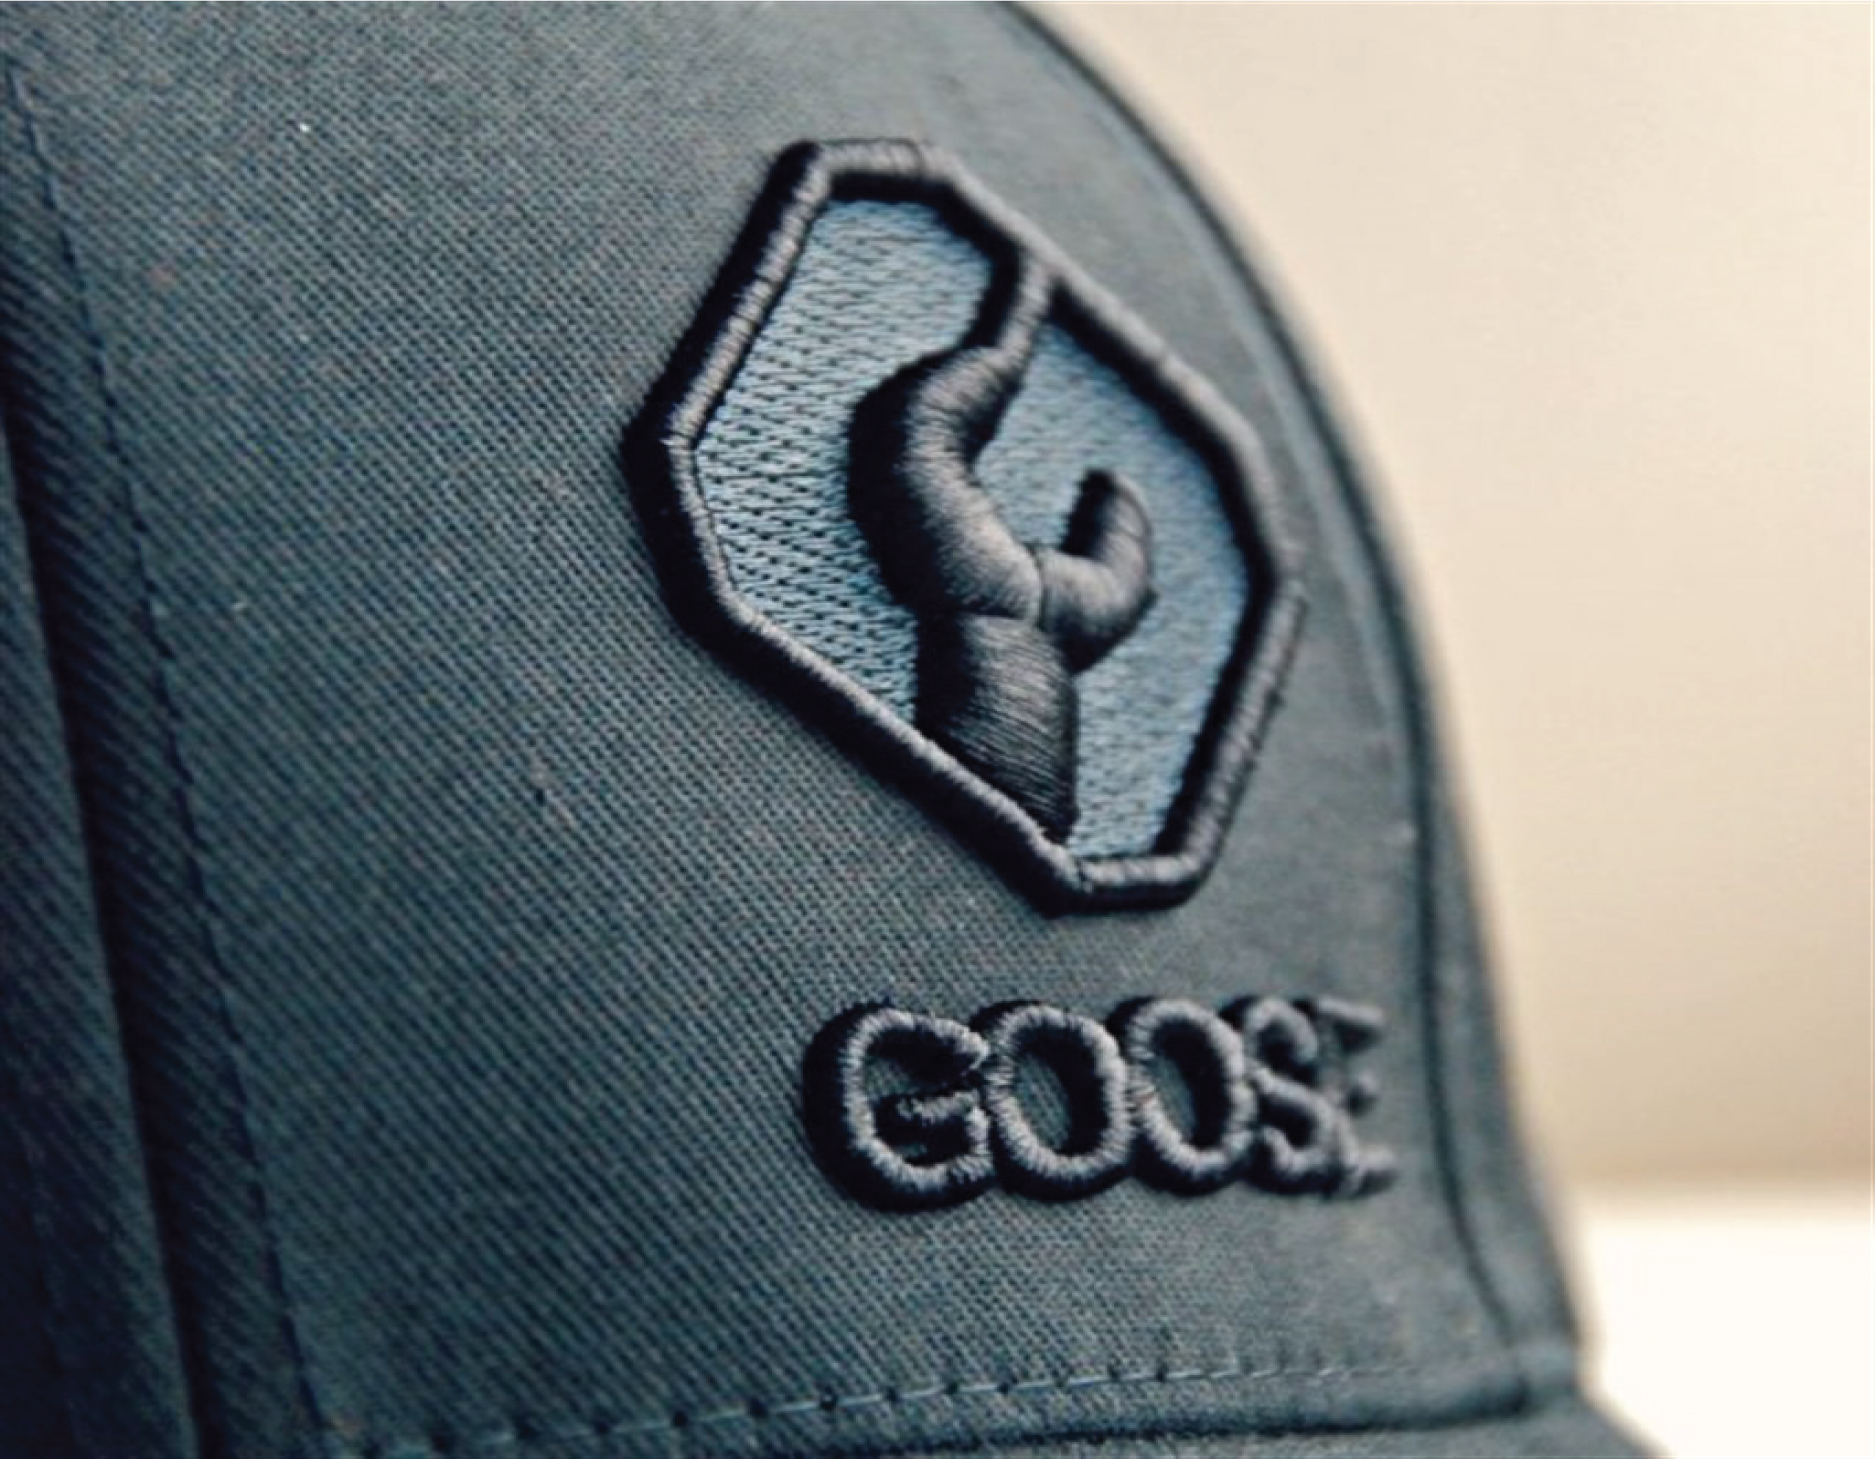
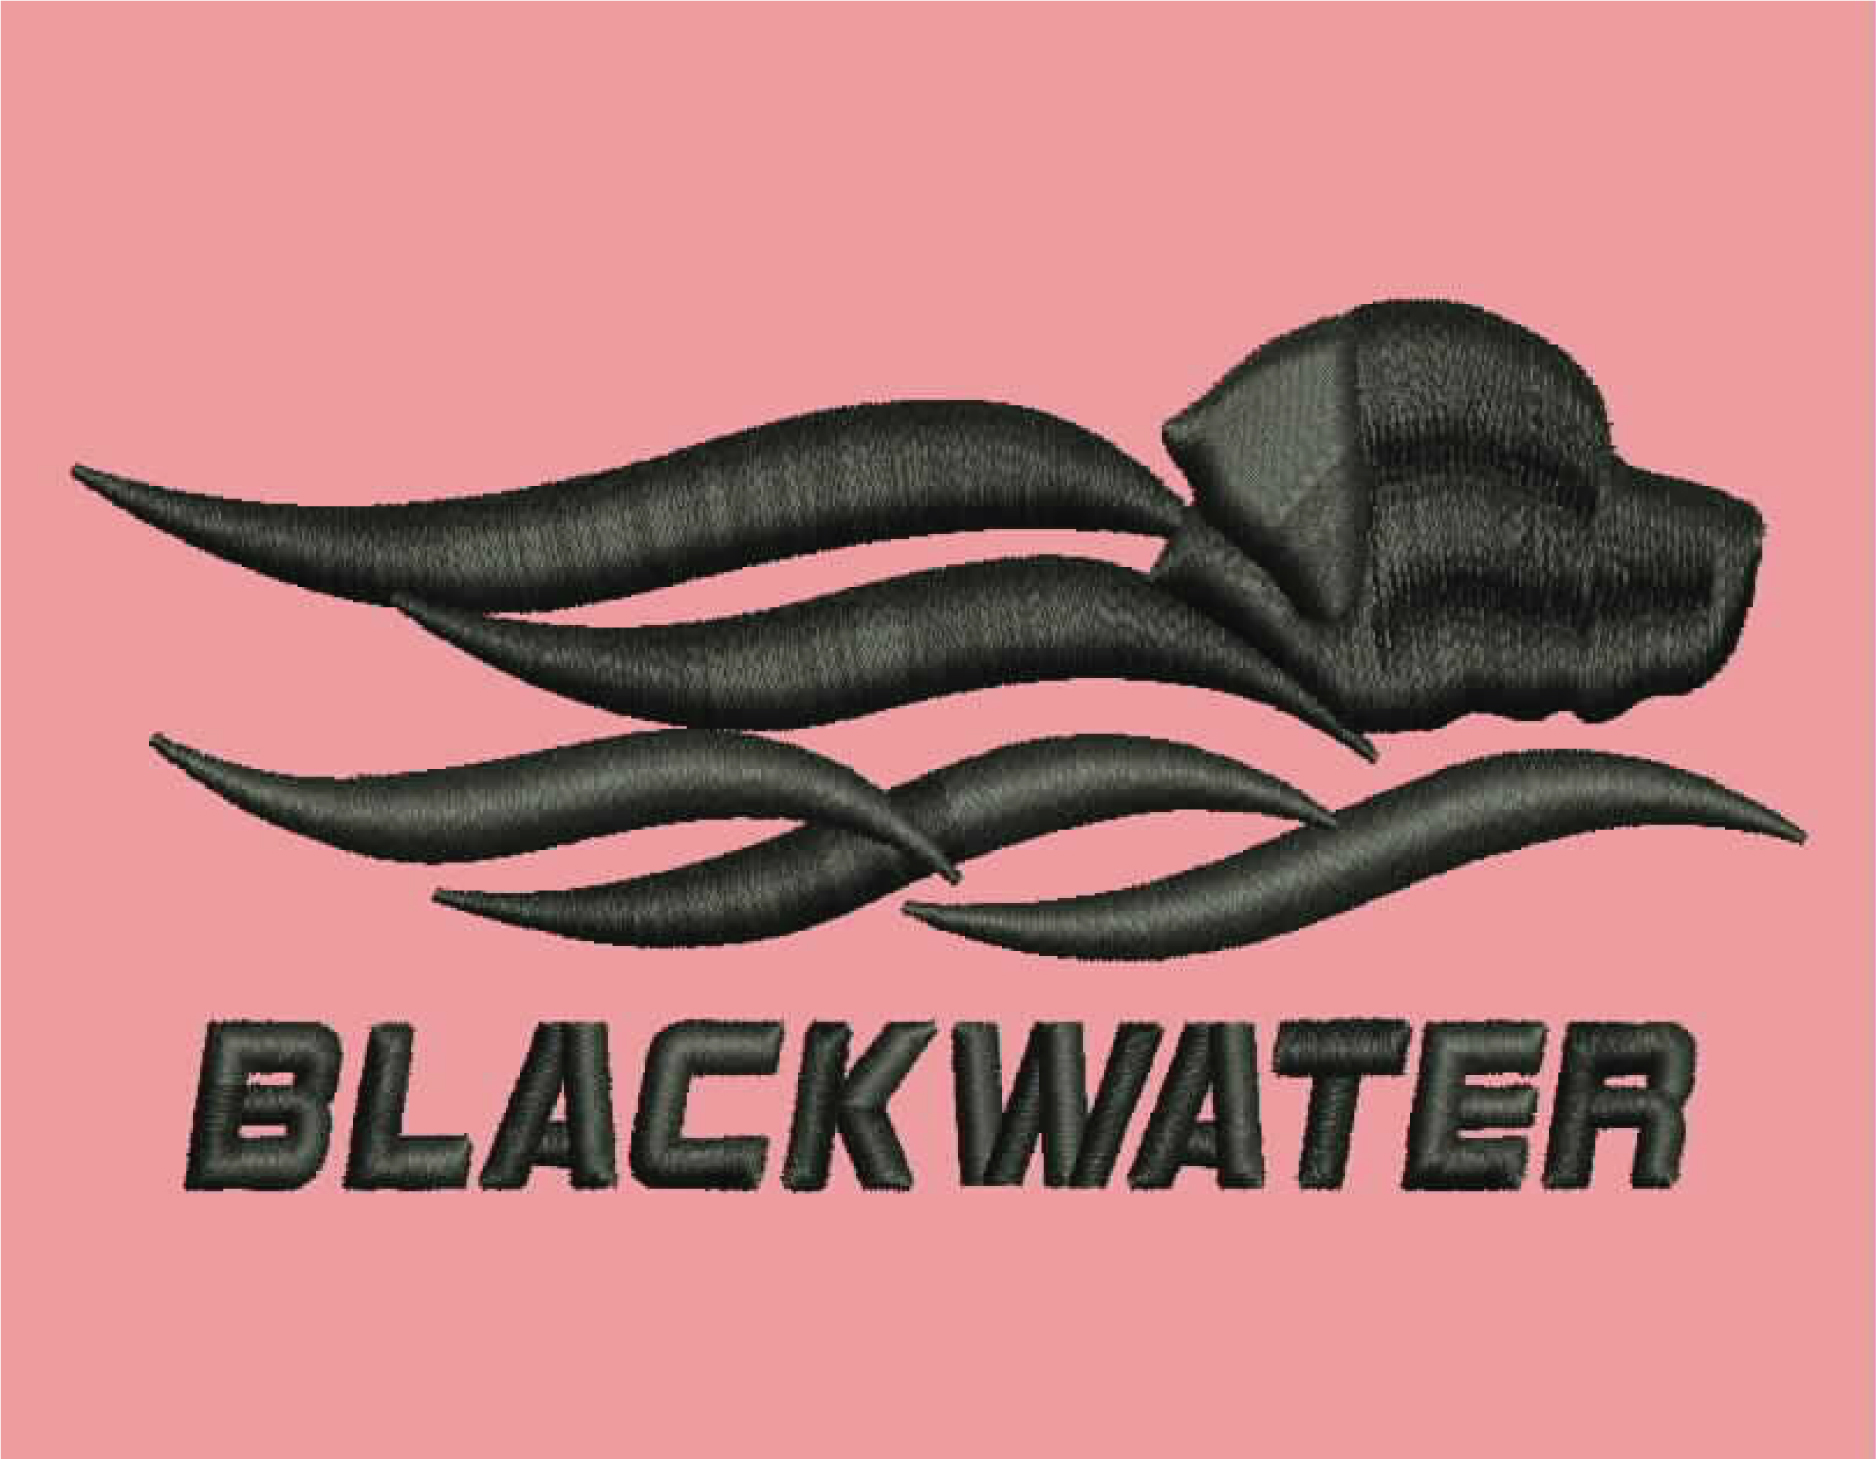
Cap or hat digitizing involves creating a digital embroidery file specifically tailored for embroidering designs on curved surfaces such as caps or hats. While the process shares similarities with other forms of embroidery digitizing, there are unique considerations due to the curved nature of caps and hats. Key Aspects of Cap or Hat Digitizing: Design Adjustment: Start by adjusting the embroidery design to fit the curved surface of the cap or hat. This involves creating a digitized design that accommodates the angle and shape of the specific cap or hat being used. Specialized Digitizing: Use specialized digitizing techniques to ensure the design is optimized for embroidery on curved surfaces. This may include tweaking stitch densities, underlay, and pathing to maintain design integrity and quality. Embroidery Machine Compatibility: Employ an embroidery machine specifically designed for caps and hats. These machines differ from standard embroidery machines as they are equipped with hoops or attachments that secure and rotate the cap or hat during embroidery, ensuring precise stitching on the curved surface. Testing and Adjustment: Prior to full production, test the digitized design on a sample cap or hat. This step ensures that the design aligns correctly with the curvature and that stitches lay smoothly. File Format and Transfer: Save the digitized embroidery file in a format compatible with your embroidery machine (e.g., .DST, .PES). Transfer the file to the machine and follow instructions to embroider the design onto the cap or hat. Cap or hat digitizing requires both technical expertise and an understanding of the unique challenges posed by curved surfaces. By addressing these considerations, you can achieve high-quality embroidered designs that enhance caps and hats with precision and durability.