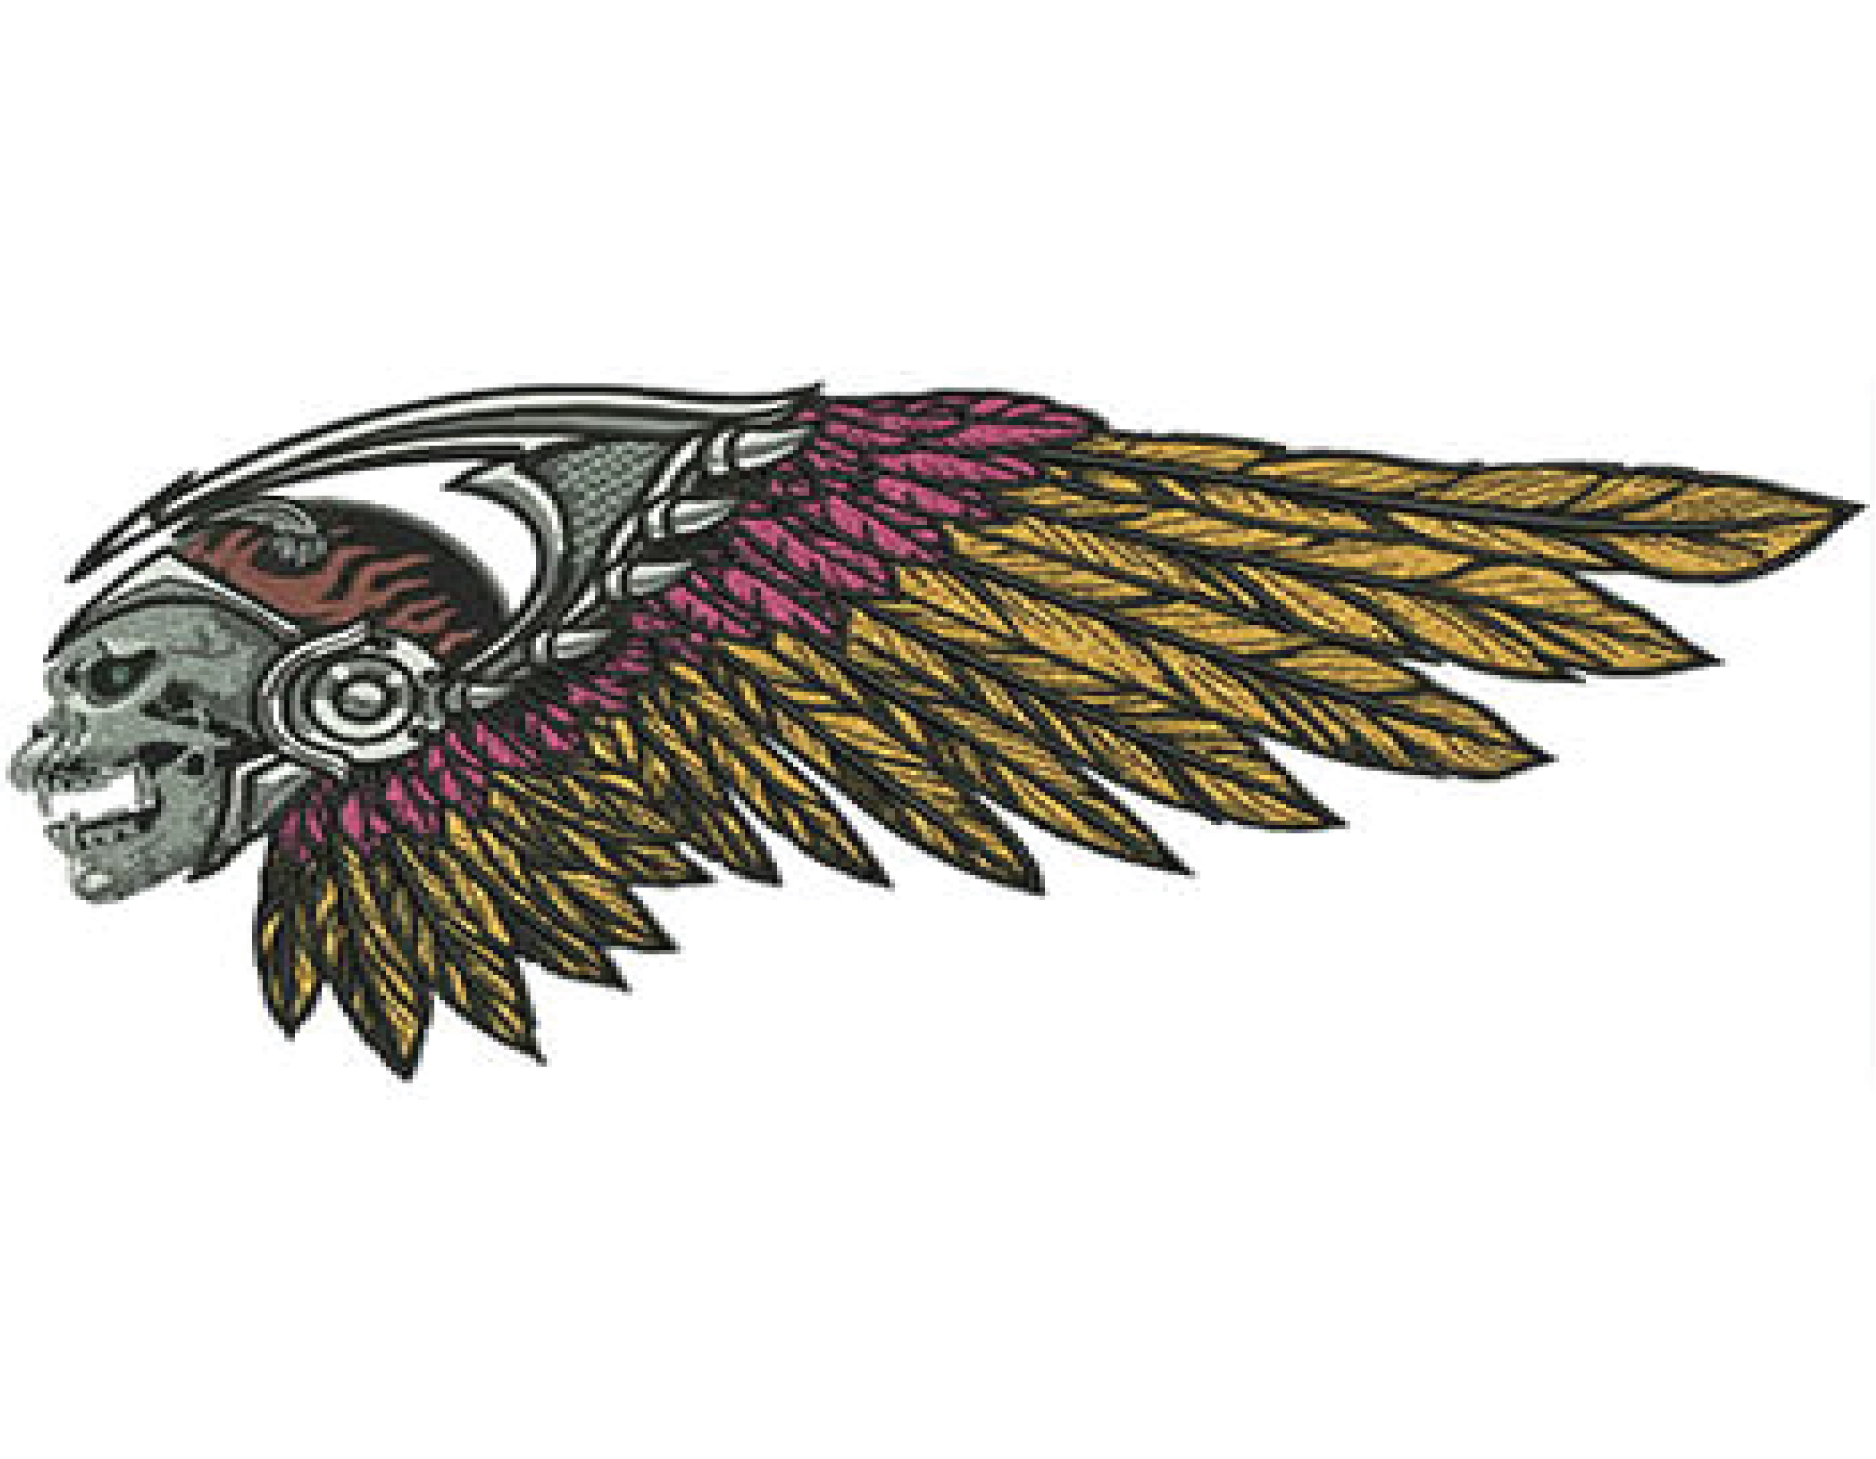
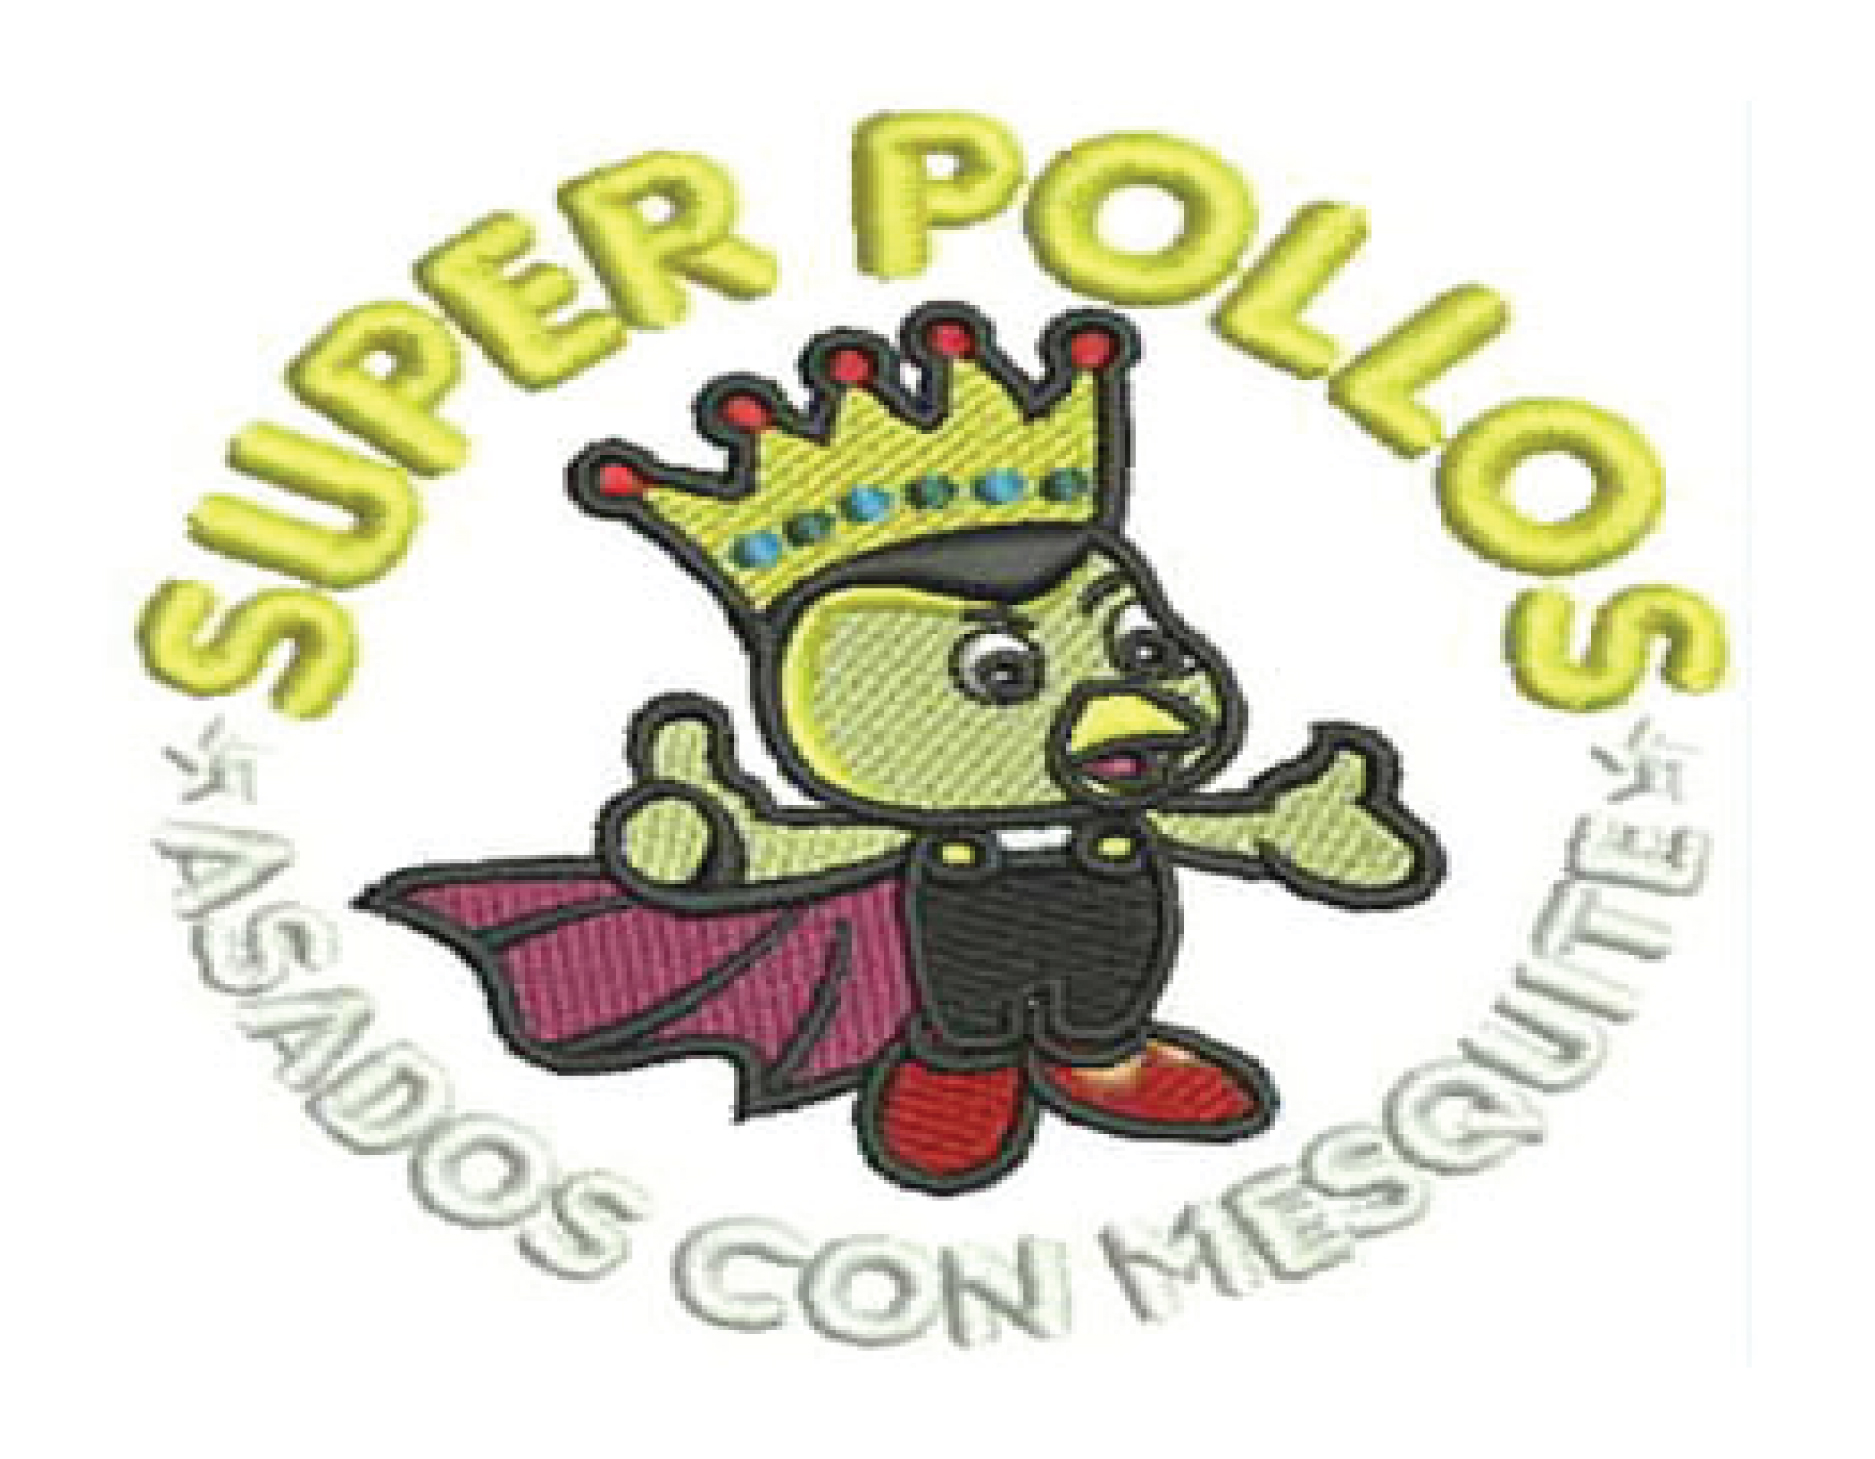
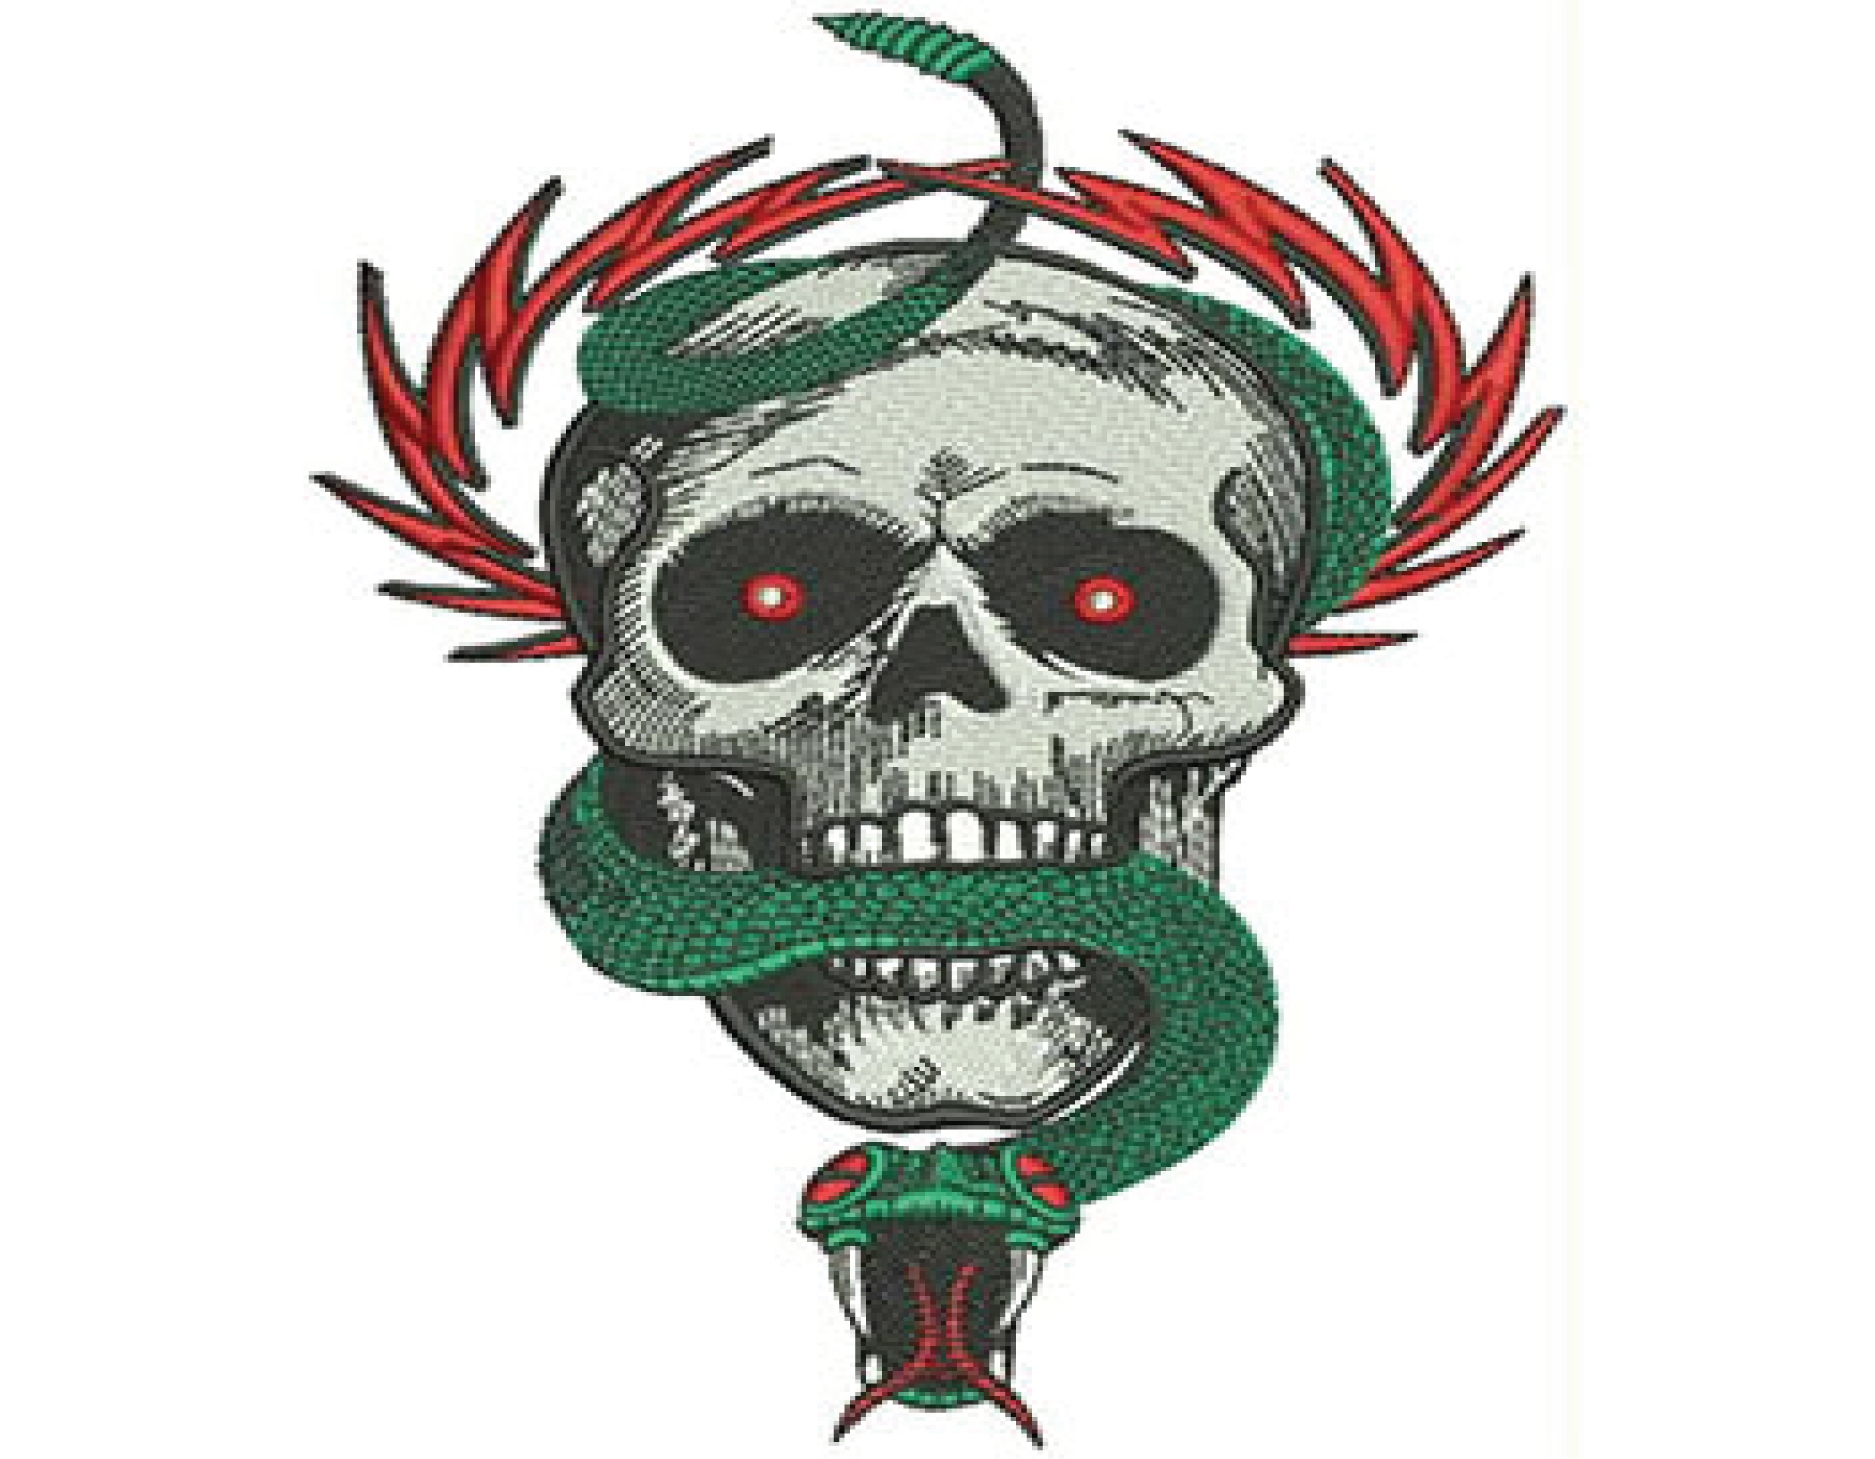
Digitizing jacket back embroidery involves converting a design or logo into a digital embroidery file that can be read and executed by an embroidery machine. Here are the general steps for digitizing jacket back embroidery:
1. Create or obtain the design: The first step is to create or obtain the design that will be embroidered on the back of the jacket. This can be a logo, text, or other graphic element.
2. Import the design into digitizing software: Next, the design is imported into digitizing software. There are many software options available, such as Wilcom, Embird, and Pulse.
3. Set up the embroidery parameters: The digitizing software is used to set up the embroidery parameters, such as stitch type, stitch density, and stitch direction. The digitizer must also consider the jacket material and select the appropriate stabilizer to use for embroidery.
4. Digitize the design: The digitizer uses the software to manually or automatically create the stitch pattern that matches the original design. This involves selecting stitch types, adjusting stitch density and angle, and setting up color changes and thread types.
5. Test the design: Once the design has been digitized, the digitizer should test the design on a sample piece of fabric to ensure that it looks good and stitches cleanly.
6. Save the embroidery file: The resulting embroidery file is typically saved in a format that can be read by the embroidery machine, such as .DST, .PES, or .JEF.
7. Load the file onto the embroidery machine: Finally, the embroidery file is loaded onto the embroidery machine, and the machine follows the instructions in the file to stitch the design onto the back of the jacket.
Digitizing jacket back embroidery requires both technical skill and artistic ability. It is important to have a good understanding of the embroidery process, as well as a good eye for design and color.


